I recently attended a workshop with my local sewing group on Gloria Loughman's technique for making tiled backgrounds. I had been thinking about how I could adapt this method to create a mosaic quilt design.
Mosaics are similar to pixelated images since both are made of tiny little pieces to create a picture or design. And with that, an idea came into my head and I was ready to go.

 I made a sketch of my idea, then my sister-in-law, Lise Hoffman - a true artist in so many mediums - cleaned up my sketch and gave it more style and finesse. Thank you Lise! Perfect!
Using my light box, I traced the drawing onto the paper side of a sheet of Steam a Seam fusible webbing.


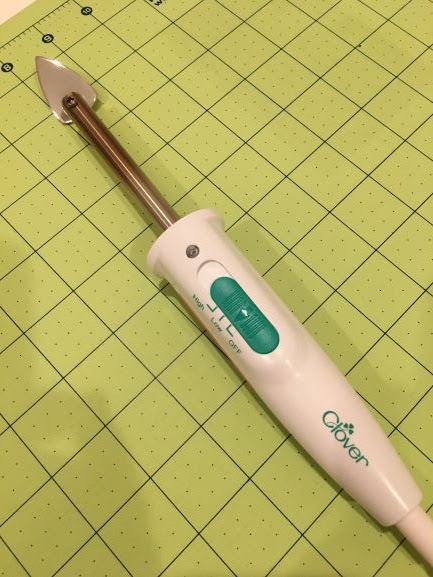 A selection of those were cut into even smaller confetti sized pieces. Using tweezers and a straight pin, I placed the pieces inside the shapes of the drawing to create the flowers and stems. For the leaves, I chose one larger scrap and cut the leaf shapes from that. Periodically, I used my Clover mini iron to fuse the pieces (covered by a Teflon applique sheet) into place.
Once all the flowers, stems and leaves were complete, it was time for the background. My initial plan was to create a tiled background, similar to what I had learned in the workshop. But as I started putting the "tiles" in place, I decided that was one element too many and I needed a simpler background.


I used scissors to cut around the drawn outline of the design, removed the paper backing and fused the entire thing to a piece of green fabric.

Even though I was really happy with the way it was all turning out, I thought it could use just a little more pizzazz, so I added the curvy border with an ombre fabric.

Confetti Cone Flowers

Size: approximately 11" x 15"
I create in Casa Grande, AZ
Check out all of the entries for this challenge at
click the link and then scroll down the page to find the entries
Love this! Thanks also for showing your process!
ReplyDeleteThis is beautiful!
ReplyDeletewonderful!!!!!
ReplyDeleteWow, that is gorgeous! The mosaic style petals really make those flowers special. And how lucky you are to have an artist SIL.
ReplyDeleteI love this!!!! great work!
ReplyDelete